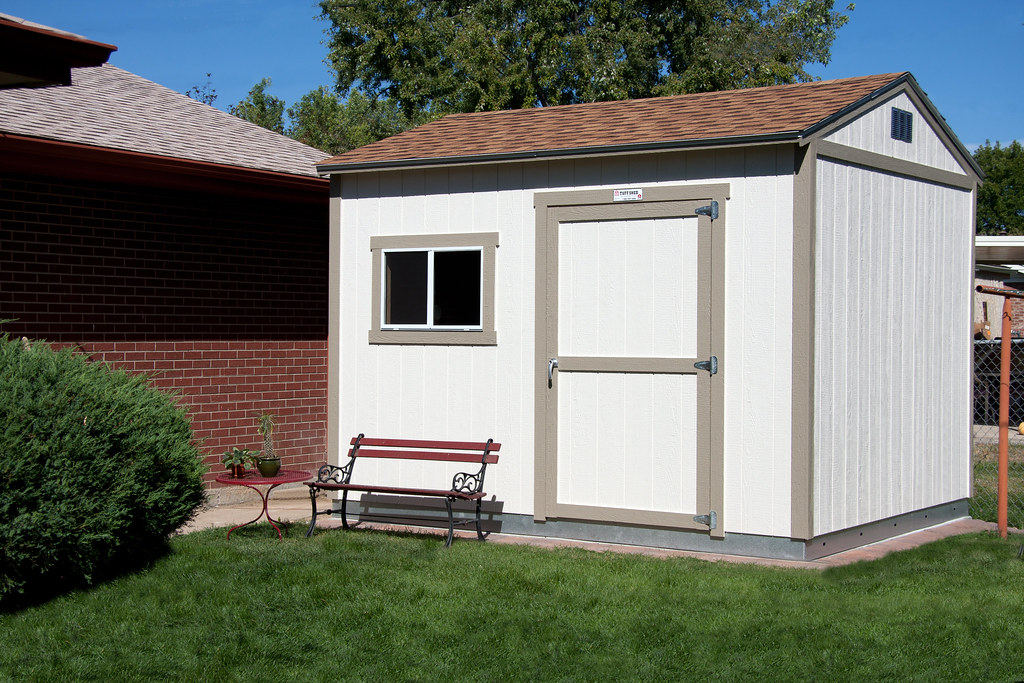
I guess it all started when we moved in to the new house. In the backyard of the house that I rent with my friends we have a shed. It looks something like this, maybe a bit bigger:
Since I didn't have enough room for a working place in a house and I needed a place to use as a machine shop; anyway, I made this shed my office/machine shop. Eventually I started to call it SmartShed, since I it has inside some "smart" modification. But first thing first.
 I tried to weld it back together, but there was no hope for that. Buying a new one was not an option, since the company that made it doesn't sell a door hands without sheds. So I decided to replace it with something smart. So happened, that an electric door lock is actually very cheap, so I got one.
First, I just mounted it to the door in a proper place, connected it to the 12V power supply with a few buttons from HSC, so i can open the door by pushing the button from inside the shed and from outside.
So. I have a working electric door lock, what next?
At some point I started tinkering with an old Raspbery Pi B+, that I bought about 2 years ago. First I attached an LED to one of the GPIO pins on it, blinked it few times(local HelloWorld), attached a relay module instead of LED and added this relay into the electric door lock circuit. A few lines of code and I have a python script that opens a door. Hell I was happy about it. For a few weeks I was opening the door by connecting to RaspberyPi from my phone over ssh and running this script. A bit over complicated, but working.
The last attempt to improve the usability of that door was an idea to use the amazon dash. For those of you, who doesn't know what it is: Amazon Dash is a wifi button with a special tag of some product, that you place in your house next to that product, for example toilet paper. If at some point you are running out of this product and you need to buy more in a close future, you just press that button, and Amazon delivers that product to you within a few days. IoT for house keepers.

But from other point of view, this device is actually a $5 micro controller, that has a wifi, button and a buttery, that technically can be enough for years for that device. So let's hack it and get the advantage of hat we have. Unfortunately hacking the device itself by some skilled enough guys from the internet didn't work well enough(wifi is not working), so I possibly can't reprogram the device. But there is other way to use it.
When you first buy the button, you have to set it up, in order to use: connect it to your wifi and choose exact amount and type of the product you want Amazon to deliver. But if you will just connect it to your wifi without choosing the product, every time the button pushed, it will connect to your wifi without sending any request to amazon servers. Few seconds after the deice will turn off to preserve the battery. In this few seconds, we can trace this device as connected and run some script on a server. Why am I even talking about it, all the instruction is here: http://goo.gl/eiGZIh
So what did I have after all this tinkering? A small wifi button in my pocket, which unlocks the door to my shed. I guess that is all about the door.

 So this is a simple Smart Plug. The idea is simple: you plug it into the wall, you plug the device to Smart Plug - you can turn on and off the device from your computer, phone, or whatever you like. Especially this model supports two devices plugged to it at the same time. The power of the relay inside is not big, so I didn't try to plug in it anything but lamps, since I think it wouldn't be safe to use it with higher currents. But it was working perfect for the task I gave it to it. This one on a picture was the very first of Smart Plugs I made and the cost of all the parts together was approximately $10. I haven't seen Smart Plugs on Amazon that would be cheaper than $35.
The second version of that Smart Plug was controlled by the Amazon Dash, since I already knew how to use it. Result: A lamp in a living room with a remote control and control over the wifi devices.
Since I didn't have enough room for a working place in a house and I needed a place to use as a machine shop; anyway, I made this shed my office/machine shop. Eventually I started to call it SmartShed, since I it has inside some "smart" modification. But first thing first.
Door.
The door hand from the inner side of the door was broken. Like that:

First, I just mounted it to the door in a proper place, connected it to the 12V power supply with a few buttons from HSC, so i can open the door by pushing the button from inside the shed and from outside.
 |
| Electric Door Lock |
 |
| Button in a black box |
So. I have a working electric door lock, what next?
At some point I started tinkering with an old Raspbery Pi B+, that I bought about 2 years ago. First I attached an LED to one of the GPIO pins on it, blinked it few times(local HelloWorld), attached a relay module instead of LED and added this relay into the electric door lock circuit. A few lines of code and I have a python script that opens a door. Hell I was happy about it. For a few weeks I was opening the door by connecting to RaspberyPi from my phone over ssh and running this script. A bit over complicated, but working.
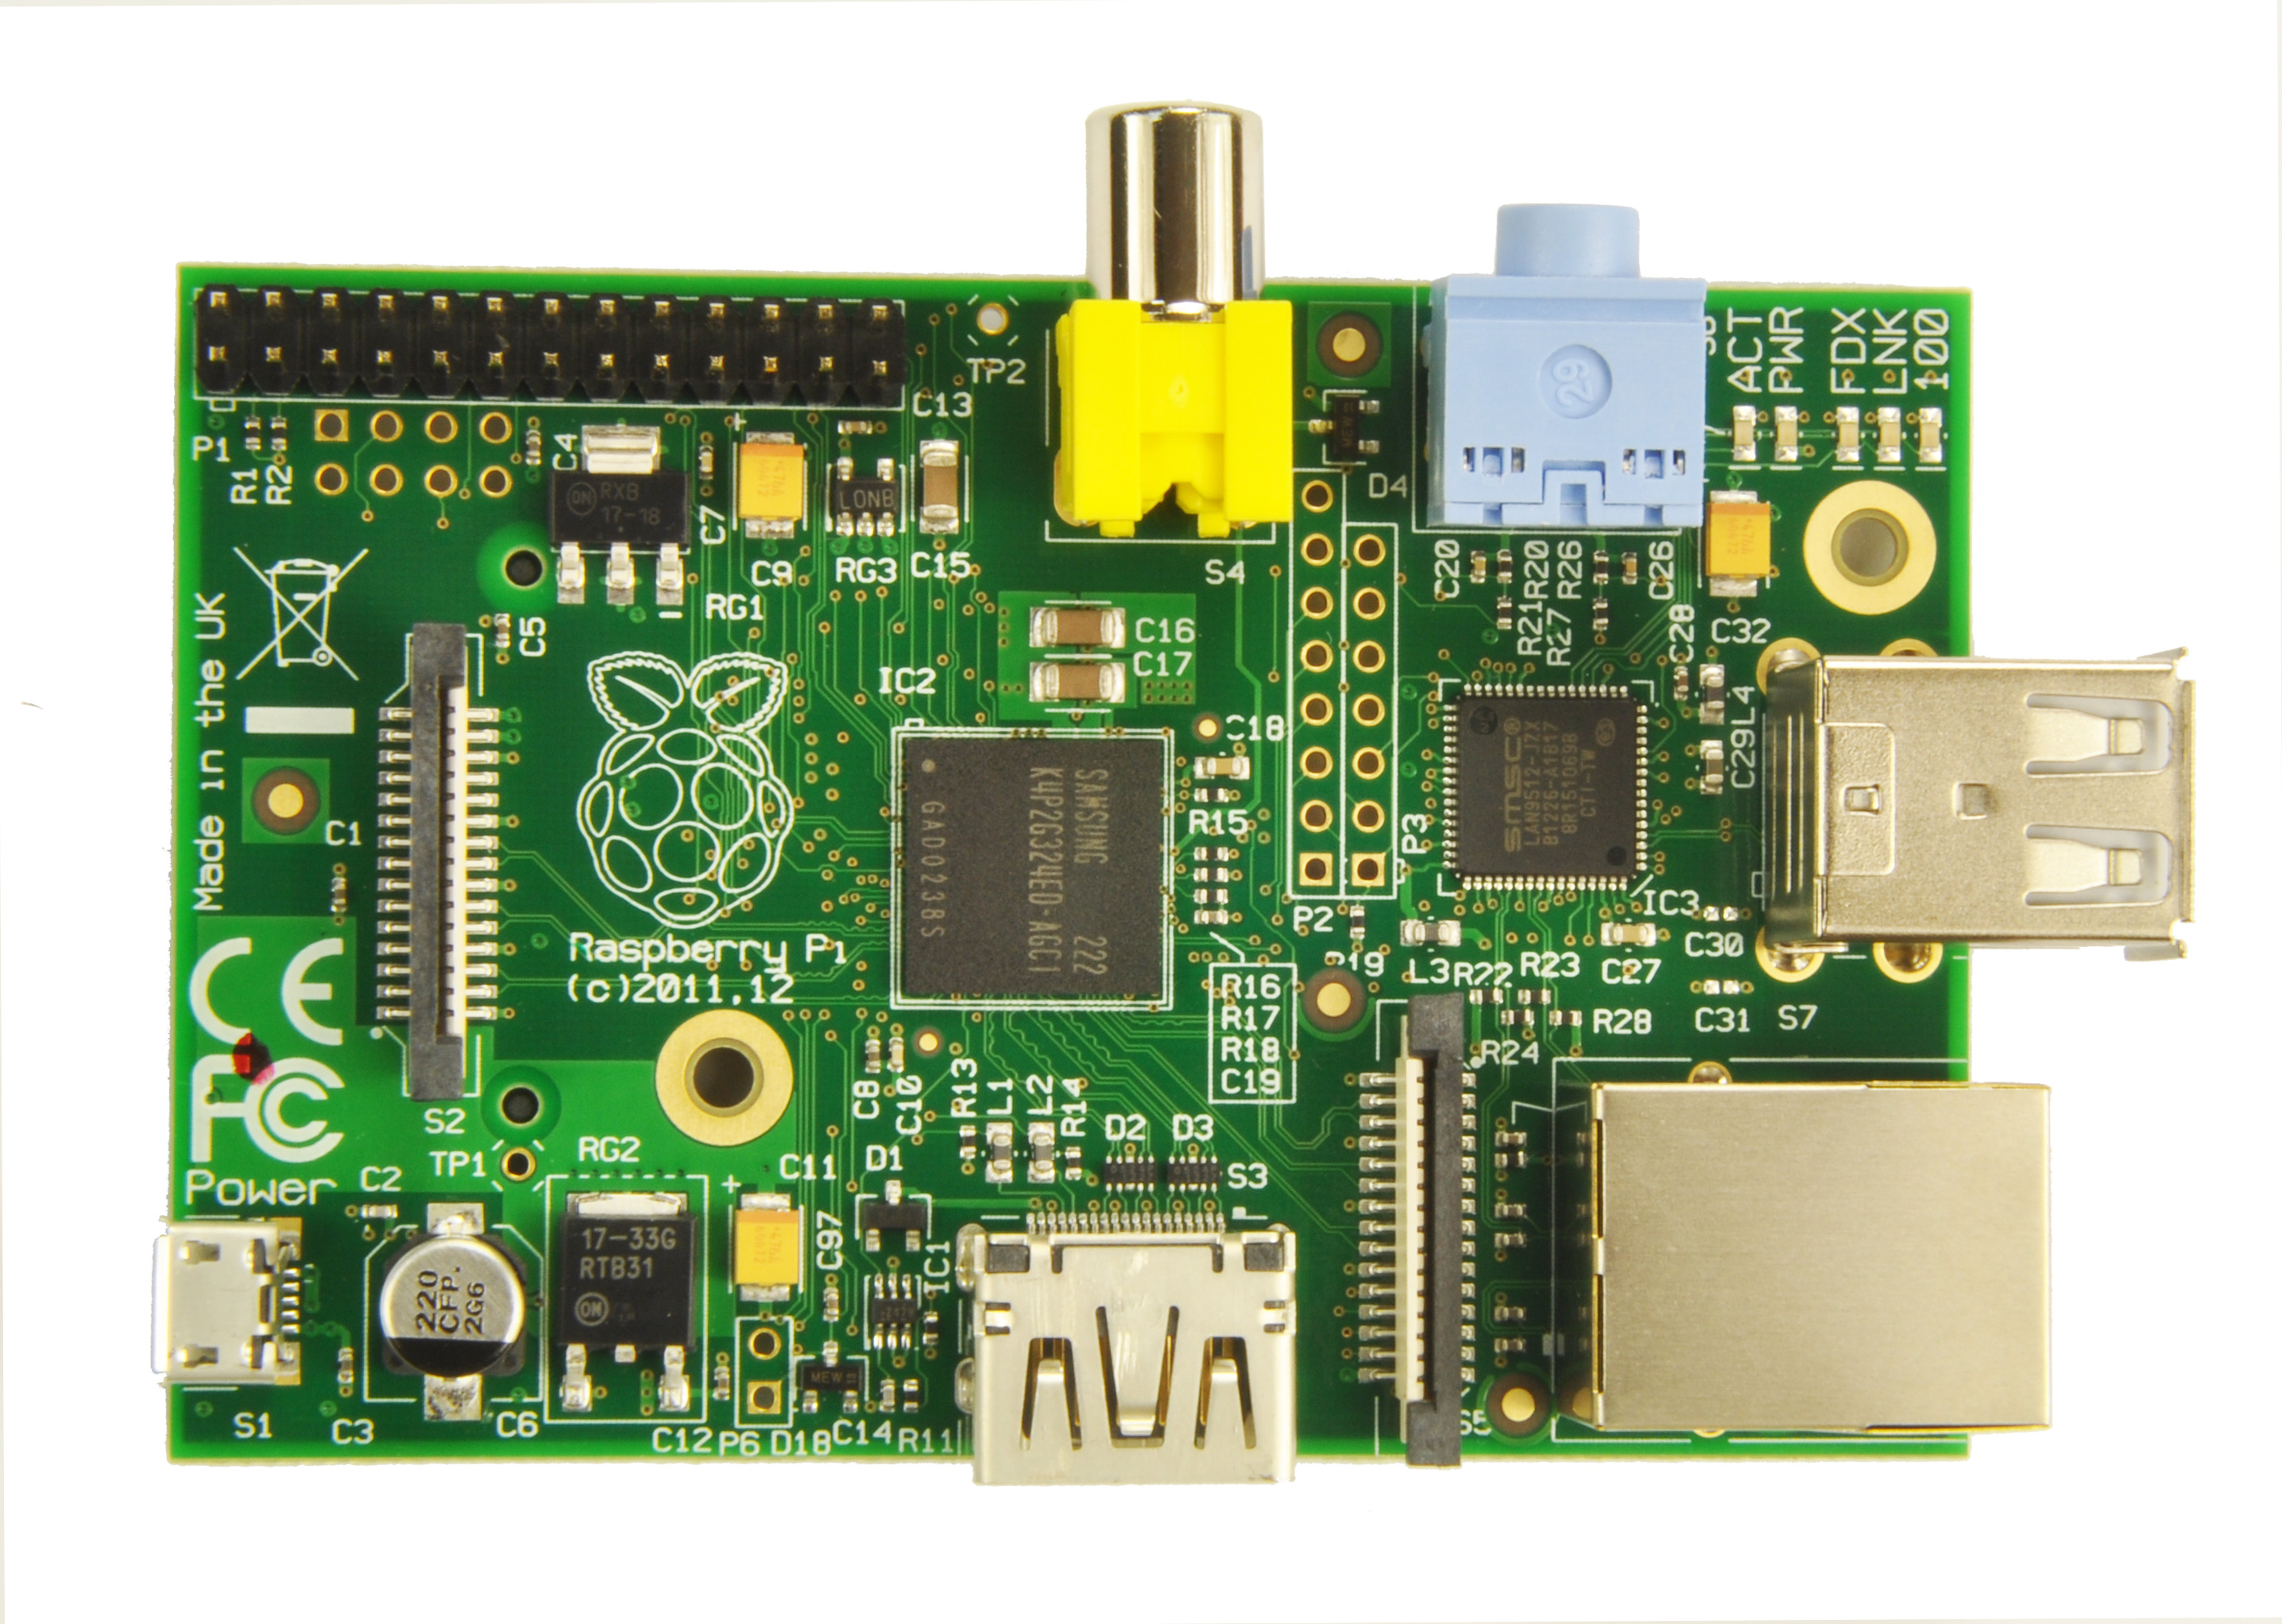 |
| RapberyPi B |
 |
| Arduino Relay Module |
The last attempt to improve the usability of that door was an idea to use the amazon dash. For those of you, who doesn't know what it is: Amazon Dash is a wifi button with a special tag of some product, that you place in your house next to that product, for example toilet paper. If at some point you are running out of this product and you need to buy more in a close future, you just press that button, and Amazon delivers that product to you within a few days. IoT for house keepers.
But from other point of view, this device is actually a $5 micro controller, that has a wifi, button and a buttery, that technically can be enough for years for that device. So let's hack it and get the advantage of hat we have. Unfortunately hacking the device itself by some skilled enough guys from the internet didn't work well enough(wifi is not working), so I possibly can't reprogram the device. But there is other way to use it.
When you first buy the button, you have to set it up, in order to use: connect it to your wifi and choose exact amount and type of the product you want Amazon to deliver. But if you will just connect it to your wifi without choosing the product, every time the button pushed, it will connect to your wifi without sending any request to amazon servers. Few seconds after the deice will turn off to preserve the battery. In this few seconds, we can trace this device as connected and run some script on a server. Why am I even talking about it, all the instruction is here: http://goo.gl/eiGZIh
So what did I have after all this tinkering? A small wifi button in my pocket, which unlocks the door to my shed. I guess that is all about the door.
Smart Plug
At some point I started to tinker with ESP8266. It is a small micro controller, similar to Arduino in some ways, that have some amount of GPIOs and Wifi. This days it is a very popular micro controller for IoT, since it is pretty powerful for it's tasks and relatively cheap.
After successful tinkering with RaspberyPi and relay modules, I tried relay modules with ESP8266 and it worked perfectly(I wasn't expecting it in a first place, since I though relay needs 5V to operate, but ESP8266 works only with 3.3v). I made a small circuit on a bread board with 2 relay modules, ESP8266, voltage reducer from 5v to 3.3v. I programmed the ESP8266 so it will pass High or Low voltage on GPIO by listening commands over TCP/IP. It worked. Than I assembled all the parts together and what I got?
 |
| From the left to right: Programmer, antenna, 2 relay modules, Voltage Regulator, the inside of the regular 5V usb charger, ESP8266 on the bottom. |

The second version of that Smart Plug was controlled by the Amazon Dash, since I already knew how to use it. Result: A lamp in a living room with a remote control and control over the wifi devices.
Smart Shed.
I am lazy to type here a long story. Long story short - I have webpage from which I can control the 4 different lights and a door in my shed. Here is the video:
The web page is public, so everyone can access it. I won't post the link here, but you can contact me, and I can maybe give you access to play with it if somebody wants.
No comments:
Post a Comment